Tag: python

  • Hackpact Day 5: Conway in a cube

    Today I was a little bit short of ideas, and having the latest Alone In The Dark game didn’t helped.

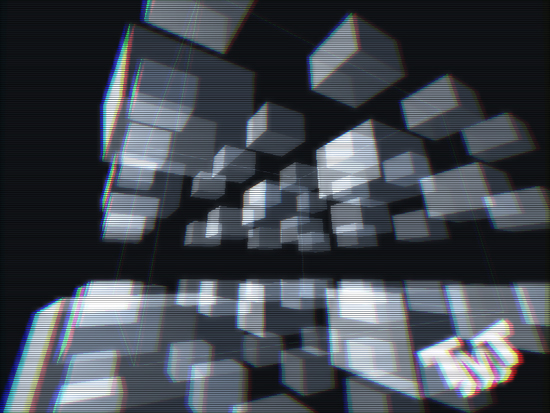
    So I decided to give a better look to the conway shader I coded yesterday, so instead of using it as a PostFX I used it as a texture for the cube. It was easy, I only had to add the texture coordinates to the cube and activate the result texture from the conway code when rendering the cube.

    I can’t say the results are very good but for those who love the cellular automatas it is fun to see.

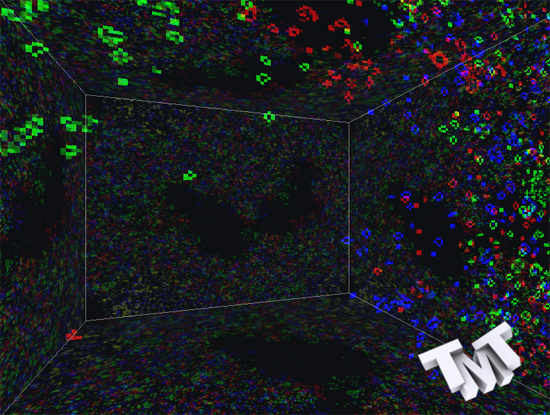
    I tryed to improved a little bit the conway shader but I ran out of ideas. I end up putting a different world in every color channel, so what you see is three boards at the same time (red, green and blue). I start the world using a texture which is in grayscale so more or less all channels start being almost the same.

    All the faces in the cube use the same texture, and when I coded the conway I forced the textures to repeat on the edges, so it gives the look and feel that every face behaves diferent, but they are all the same.

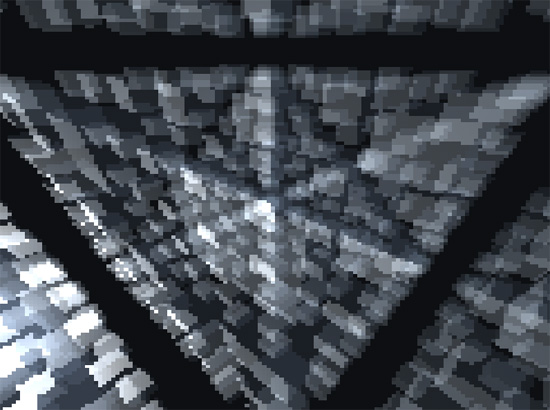
    I also tryed to render the cube several times with diferent sizes to give the feel that the pixels have volume, but it didnt worked. So at the end I just took advantage of the posibilities of the graphics card and use a texture big enough to have a huge conway world, and it looks fun when you see so many cells in action.

    Now screenshots and source code:

    hackpact_day5_screenshot1

    hackpact_day5_screenshot2

    Here you can download the source code: hackpact day 5

  • Hackpact Day 4: Textures and Conway

    Today I have been playing around with python for eight straight hours and the results are not very impressive, too much time wasted in stupid problems. Mostly because I keep thinking in C++ and some of the simple tasks I usually do when coding graphics under C++ are a pain in the ass in Python.

    For example, to create a multidimensional array in an efficient way, impossible, you need to use Numpy, which is a module specially designed for this purpose, but even though through numpy I took me lot of time to figure out how to apply an action to every cell.

    Or for example trying to refactor my RenderTexture class I created the Texture class that allows to load textures from disc, but then I wanted to make RT inherit from texture and I like to have several constructors, but in Python you can’t distinguish two constructors by the type of the parameters (mainly because there is no specified types) so I had to use a different approach (dictionaries for the trivial parameters).

    Also I had to deal with the classical OpenGL problems when creating the Texture class, they didn’t render correctly due to the pixel packing (I always forget that!), and some other issues.

    So to do something cool I created a PostFX using Conway’s Game of Life idea, which turn out not to be so fanzy and I don’t think it deserves an screenshot here. Because if you apply it to every frame it looks more like an edge detection algorithm.

    I’m just a little bit upset that I wasted so much time with things that didn’t translate to anything interesting. And everyday I become more and more worried that I’m wasting precious time in re-coding my old framework under a different language, which would be a stupidity because I could have keep using the old one under C++.

    The reason to move to python is to explore new fields in graphics, not to do the same but in an slow and rusty way.

    For the next episode I have some ideas, first I want to test Numpy in depth, second a friend told me about a python module specially designed to the mathmatics involved in graphics (vectors, matrices, etc), something I really need If I pretend to create something over Python. And for the ending I want to do some test about reloading the code without restarting the application.

    And now some screenshots and the source code:

    hackpact_day4_screenshot2

    hackpact_day4_screenshot1

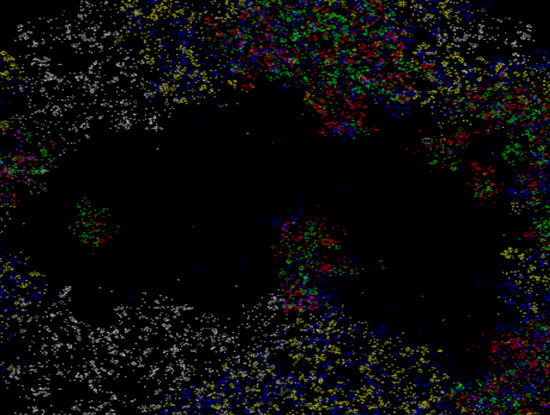
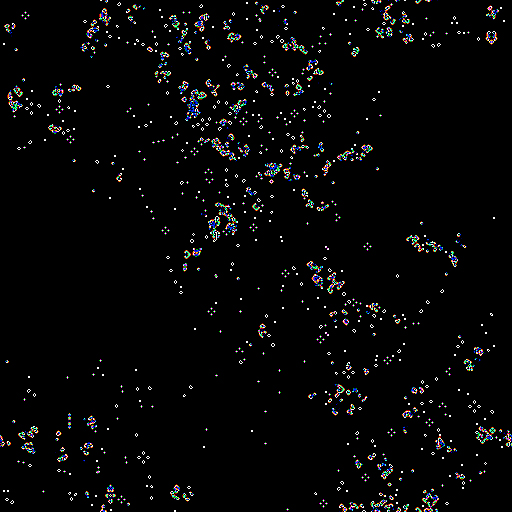
    It is just a conway game of life executed in a shader, nothing impressive at all. Miguel Angel helped me with the automata rules.

    Here is the source code: hackpact day 4 and if you want to use it, when you hold LeftControl key it renders the Game of Life, and if you hold LeftShift it takes the boxes image as input, so tap LeftShift once while you hold LeftControl, also with the keypad Divide and Multiply you change a threshold I added to the automata and it makes some funny worlds.

  • Hackpact Day 3: PostFX and 2D Algorithms

    First a little comment about RenderToTexture. My RTs are based in FBOs (Frame Buffer Objects), thats a feature relatively new on OpenGL and not well supported by all the graphics card.

    Yesterday I was testing my app under OSX where I have everything installed (I used Macport to install python and all the libraries) and it crashed because the FBOs were not supported. Thats impossible because it is a MacBook and I know the card supports it, but for some reason the OpenGL functions relative to FBOs are not pointing to the right place on the driver, I don’t know what to do to solve it.

    I also tested it in my other computer which runs Windows 7, and pygame crashes due to a problem with MSVCR71.dll, I guess is a SDL problem and Visual Studio, the funny part is that it works when I run the script from python IDLE. Weird. So at the end using python and opengl is not as cross platform as I thought.

    My friend Miguel Angel pointed out also something curious, he had the same problem as Bastiaan when calling one of the OpenGL function, but that problem didn’t occour to me, it has to be something with the versions we are using, so I guess the Pyopengl API is not so solid and it is changing between versions more than what I would like, that could be a problem in the future, we will see…

    PostFX

    Today I’m gonna try to code a simple PostFX shader to see if I’ve got the basics.

    The wrapper I did for the shaders is too simple right now, it doesnt support to upload textures to the shader, and that is mandatory, so thats my first enhacement. Also I haven’t test loading and showing a texture, indeed I coded the RT class without having a Texture class first (usually RT inherits from Texture).

    I was expecting to find a class that encapsulates all the boring part of a texture, like texture formats, filters, etc, but I wasnt so lucky.

    I’m worried about something, I don’t want end up doing the same I do everytime I start coding in a new language/platform. I always start wrapping the things I need, and keep doing it till I have been doing technical stuff so long that I get bored, instead of creating the application I create the tools, and the application never comes… It is a death spiral where I always fell. In game development there is a saying: “those who code game engines never code a game”, and it is true, as soon as you start coding your own engine you are always chasing a new feature instead of trying to create something with the features you already have.

    So my plan now is to create the ultrabasic needs, which will be to have textures, shaders, RTs, maybe meshes (something simple) and a tiny graph editor, but I will talk about this when the time comes.

    Ok, so I made a PostFX shader, I added the function to upload a texture to a shader and for my first test I rendered the same scene but reversing the colors and it worked.

    gl_FragColor = vec4(1,1,1,1) – texture2D(texture,gl_TexCoord[0].st);

    I was thinking of leaving that as an example of PostFX but that was too simple so I thought about something more complex.

    Where you are coding a PostFX shader you read the pixel you are going to write from a texture, then you apply a function using the color of the pixel as the input and the output is returned from the pixel shader to be written in the same position of that pixel.

    But sometime ago I realized that when it comes to PostFX you usually want to read not only that pixel, also the average of the pixels around that one, or in other words, you want to blur the pixel. To do that there are several options, one is to read all the pixels around your pixel from the texture and calculate the average, but for prototyping that is tedious, other solution is to blur the texture before passing it to the shader, but then if you want the original one you need two textures.

    So I found a trick, to use the Mipmaps. Textures have mipmaps which are versions of the same texture but in lower resolution, and OpenGL allows you to create on-the-fly mipmaps of  a RenderTexture. It is kind of slow because it has to calcule all the mipmaps piramid even when you only want two or three levels, but the good thing is that it is only one line of code, so I added the option to the RenderTexture class.

    I have used this trick in the past to create lens effect, motion blur, depth of field, etc. Obviously the results are not perfect in comparison with a good gaussian blur, but it does the task.

    For this example I read the channels of the pixel separatly, with a little offset in X and I also add some blur to the red and blue component. Here are the results:
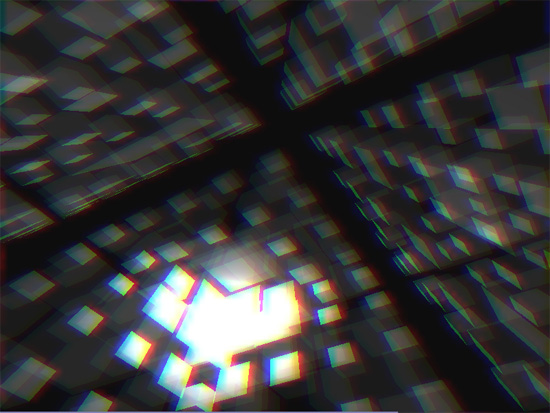
    hackpact_day3_screenshot

    And here is the source code: hackpact day 3
  • Hackpact Day 2: Input and Render Texture

    For today I expected to clean a little bit more my code, it is growing fast from the skeleton I started and I don’t want to have to refactorice everything in a couple of days, but damn, I always end up wrapping stuff instead of using it so for this project I will focus on having the essential features.

    First I wanted to add a simple wrapper to RenderToTexture features of OpenGL. The reason is that once you  have shaders and RenderToTexture you can achieve lots of cool algorithms, specially the postFX algorithms.

    To do PostFX you want to be able to apply an algorithm to every pixel on the screen after you have rendered the scene, but OpenGL was thought more to render primitives on the screen (lines, triangles, and so). Then the old way to do PostFX to the final image was to download from the Video Memory the frame to the RAM, then using the CPU apply the algorithm, then upload it again, but that was far too slow and CPU consuming (and using Python thats MADNESS!!)

    The cool way is using shaders and RenderToTexture combined. How? Well, Shaders allow to execute an algorithm for every pixel of the primitives we draw, not enough, because we want to read the previous pixel, apply the algorithm and store it in the same place. So the trick goes like this, we render the whole scene in a texture, then we render that texture in a quad filling the whole screen but with a shader with our PostFX algorithm activated.

    So the shader is going to be executed for every pixel on the screen, and we can have the pixel in that position as an input to the shader. The result will be store it in the same pixel. Easy!

    We can achieve nice effects like color balance, combine different images, blurs, edge detecting, etc.

    So let’s start wrap a Render To Texture in a class, the interface should be simple, something like this:

    • constructor where you choose Width, Height, Depth (and in my case some other flags)
    • enable which redirects the rendering to our texture instead of the screen
    • disable to restore the rendering to the screen
    • bind to bind the resulting texture
    • render to render the resulting texture as a quad to the screen

    So after some work I managed to have everything working. Some interesting thoughts about it:

    • Working with OpenGL in Python is easy, even some old OpenGL API functions have been wrapped in a more helpful way, for instance glGenFramebuffers in C++ you have to pass the reference to the variable where you want to store the Id of the FBO, but in Python it just returns it, thats nice.
    • I had some problems when it comes to passing to OpenGL memory address, for instance if you create a texture and you want to initialize it with something. I don’t know how to do it, I have seen examples using Numpy but I just skipped that part.
    • OpenGL usually never crashes, but those functions that expect a pointer… you better take care of them, because if you miss the address they will crass the application, no Python exception will catch that.

    The best way to test if your Render To Texture works fine is to render the whole scene to a low resolution texture and show it to a full screen quad. You should get some pixelated results (if you disable filtering), here is my proof:

    hackpact_cubes2

    Once I have the Render To Texture results I could create a PostFX shader but I will do that tomorrow. For today I better play a little bit more with the scene I’d got from Bastiaan adding some input and cool effects like changing the size of the cubes depending on the distance to the light source.

    If you want to test the application (I won’t suggest it in the early stages because there is not too much interesting stuff unless you want to know more about Python and OpenGL) here are the keys:

    • 1 to 4: enables different effects (blend, rotate cubes, sphere shaped, edges and RenderToTexture)
    • Space and Backspace: to move the camera back and forth
    • Keypad + and – reduce the dimensions of the voxel
    • ESC to close it

    It is nice to use pygame underneath because it is a wrapper of SDL and I have been using SDL for years so most of the features of SDL are exposed with similar names and interface but in python. For instance, I wanted to use the time increment to move the objects instead of the frame number, this is important to have a constant movement, otherwise it moves faster when the scene is emptier (when the framerate is higher).

    I also added a small bar at the botton to show the framerate, I don’t know how to render text (I probably will need to use another module…) so I just draw a line from left to right, where right means 60fps and left means 0fps.

    I also made some small optimizations to the Bastiaan code, nothing to be ashamed for, just ensure all the faces of the cubes were clockwise so I can enable back face culling.

    If you want to test it the files are zipped here: hackpact day 2